Enable SSH on Raspberry Pi OS
To be able to access the Raspberry Pi remotely on a console you need to use SSH.
To enable SSH, you first need to login into the system with a direct physical connection, you need to connect the Raspberry Pi to a monitor and connect a USB keyboard. Once you have logged in execute:
$ sudo raspi-config
This will display the configuration menu:
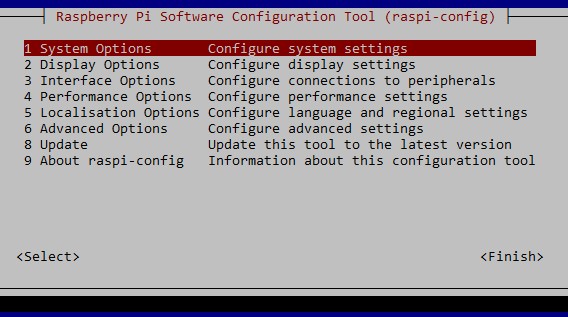
Select “Interface options”:
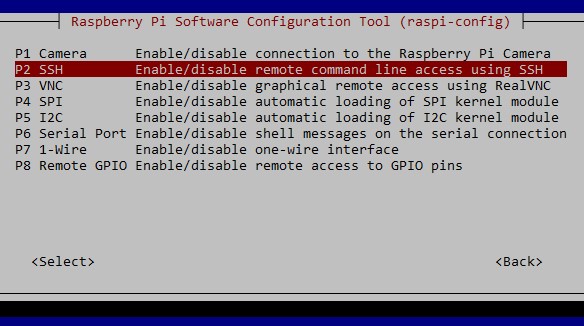
Select SSH:
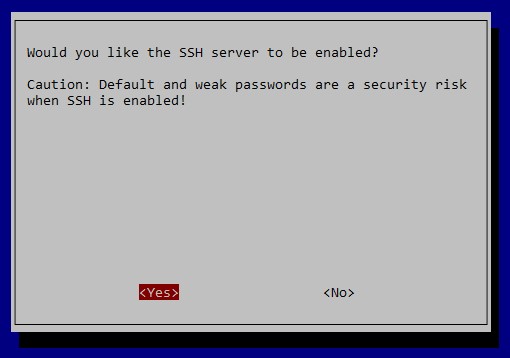
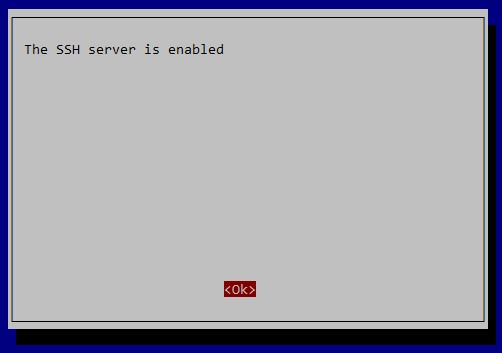
Select “Yes” to enable SSH, after a short while the system will display this message if the change was successful: